| Rendering/ Introduction |
Introduction
The photorealistic rendering engine of Realsoft 3D uses scan line, ray tracing and post processing techniques to produce images with a high degree of realism. In order to generate images, the rendering engine needs the following information:
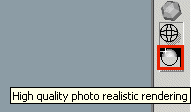
Rendering the view windowThe default startup project defines reasonable default settings for photorealistic rendering. The only thing you have to do is to create a scene and click the 'Render' button. For example, to render a sphere: 1. Click the Analytic/Sphere tool and enter two points through the view window to define the position and the size for the sphere. 2. Click the 'Render' button in the bottom of the view control bar.
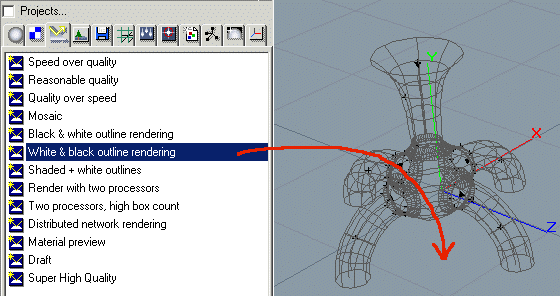
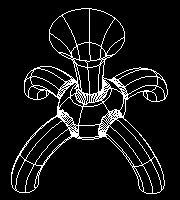
Specifying rendering settings for the view windowRendering settings can be defined by dragging and dropping a rendering settings object into the view window. You can also select the rendering settings through the View Property window/Render tab. For example, to activate Outline rendering: 1. Go to the Select window's Rendering Settings tab. The default startup project contains several predefined rendering settings object. 2. Drag&drop one of the outline rendering settings into the view window.
3. Click the Render button and an outline image is rendered.
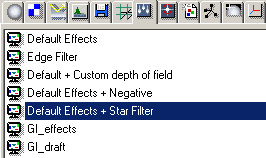
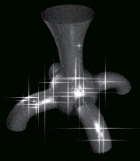
Specifying post effects for the view windowA suitable post effect collection can be selected for the view window the same way as rendering settings i.e. using the drag&drop technique. For example, to activate a 'star filter' post effect: 1. Go to the Select window's Post Image Effects tab.
2. Drag & drop the 'Default effects + Star Filter' object into the view window. 3. Render the view and objects will be 'star filtered'.
The view window of the standard configuration uses the 'Default Effects' post effect configuration. It automatically renders glow, particles and depth of field, if the defined material properties, camera options, etc. so require. Therefore, you probably don't have to change the post effects configuration that often. Note, that the Post Image Effects tab contains two kinds of effects: Post images and actual effects applied to post images. In the example above we dragged & dropped a 'Post Image' to the view window. Dropping individual effects to the view window adds them to the post image which is selected for the view. Effects can be rendered only by applying them to post images. Grouping post effects to post images is explained in detail later in the post processing tutorials.
|
 |
 |